How Does a Sewing Machine Work?
How to use Sewing Machines for Absolute Beginners
Remember that blouse that you wore until it was threadbare? Or those jeans that hugged you in all the right places? Wouldn’t it be nice if you could say that you loved all of your clothes – not just a few in particular? With your own sewing machine, your clothes could be tailored to the precise fit you desired in the exact colors you wanted.
What about other ideas? Sewing machines do more than make clothes. Make a duvet cover for your bed with matching pillow cases. Stitch some new drapes for the living room. Embroider a rose on your favorite jacket.
If you mastered the basics of using a sewing machine, you’d be saving money while improving your wardrobe, home décor, and give personalized gifts. There are million things you can do with a sewing machine like hemming a shirt, creating a quilt, embroidering a baby blanket, resizing a pair of jeans, or making a set of throw pillows.
No need for an expensive commercial sewing machine that professionals use to make items from scratch. Start out with a smaller miniature sewing machine to test the waters. The types of sewing machines on the market are endless. You just have to figure out which one works for you.
What is a good starter sewing machine?
A beginner really only needs to find a machine that can make a straight stitch and a zigzag stitch. The rest of those fancy features are nice, but not necessary. Hemming, patching, and simple sewing projects can all be efficiently completed with those two stitches. Some starter sewing machines have drop-in bobbins which is a helpful feature for a beginner.
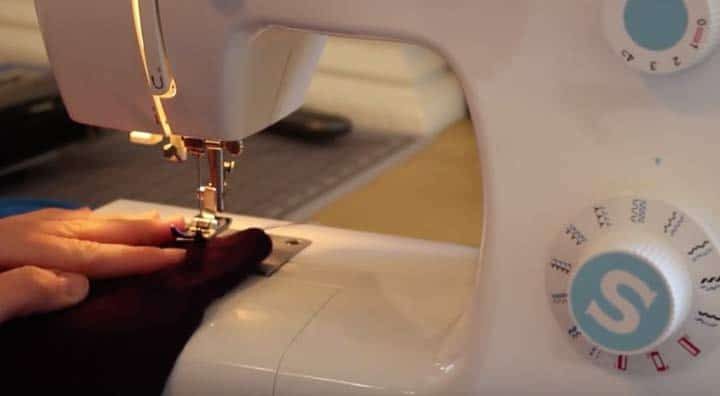
A good starter sewing machine should be simple to figure out. The prep work of getting the machine ready to sew can be more difficult than actually sewing. How do you know which stitch to make? The stitch selector should be labeled with easy to understand graphics. No rocket science necessary – just turn the knob to the icon that represents which stitch you want.
Threading is easy if follow a few steps outlined below. The bells and whistles on the more commercial sewing machines are nice to have. But as a newbie, you really just need a good starter sewing machine that is easy to understand and even easier to use.
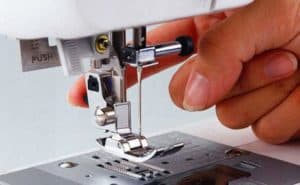 See my review of 5 highly rated sewing machines for beginners [more…]
The more commercial sewing machines have every feature you can imagine plus some computerized settings to create professional results. While this is a nice feature if you know how to use it, it can add unnecessary complication for a beginner.
Another perk for a good starter sewing machine is one that is electric but can also use batteries. This would better suit someone who needs the power of an electric sewing machine but with portability to sew in places that don’t offer electrical outlets.
If the power goes out during a storm, slip in some batteries and keep sewing. Or, maybe you want to take the kids to the playground. Bring a few quilt patches and a miniature portable starter sewing machine. Quilt while the kids play.
How to use a Singer Sewing Machine – Mini Tutorial Giving you the Basics
While the sewing machine does all of the actual sewing for you, there are some responsibilities you have as the operator of the machine. In this mini tutorial a ‘Singer Simple’ model is used, showing you how to thread a singer sewing machine and the first basic steps of setting the machine up ready for sewing.
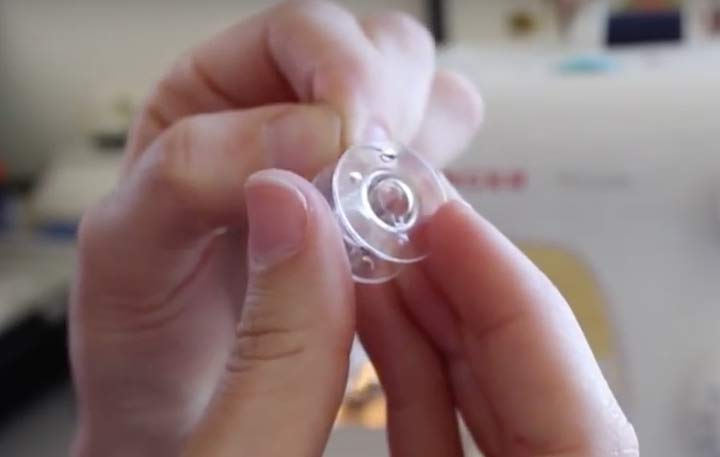
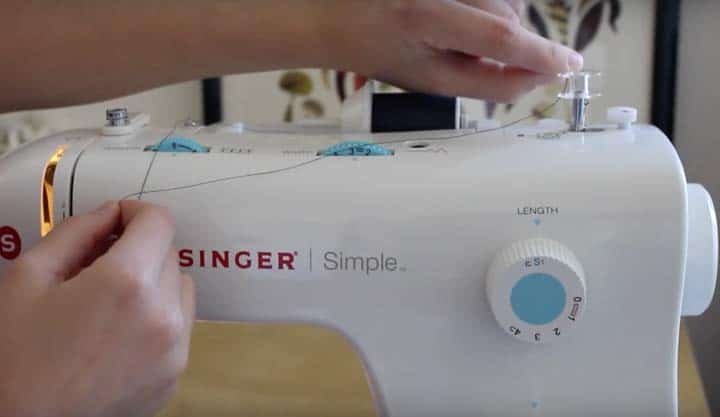
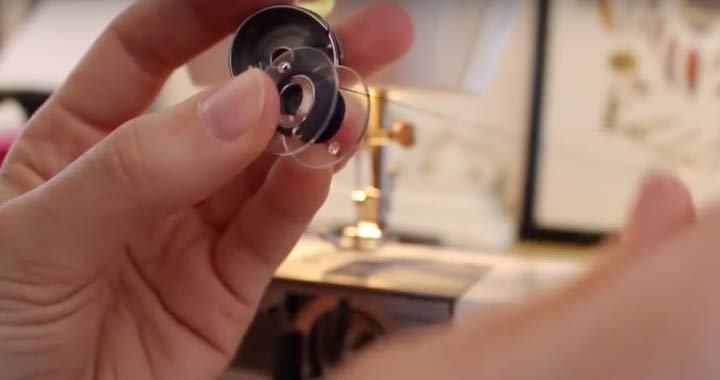
The first thing you need to do is thread the bobbin. The bobbin is a small empty plastic (or metal) spool with a couple small holes in the outer rim. It holds the thread that comes up from below the needle and meets the top thread coming down through the needle. Place a roll of thread on the machine, pull it down towards the needle, and thread it through a hole in the bobbin.
Secure the thread in the notch in the bobbin. Place the bobbin on the metal rod on the top of the machine
Click it into place. Pressing the foot pedal will quickly transfer the thread from the larger spool onto the bobbin.
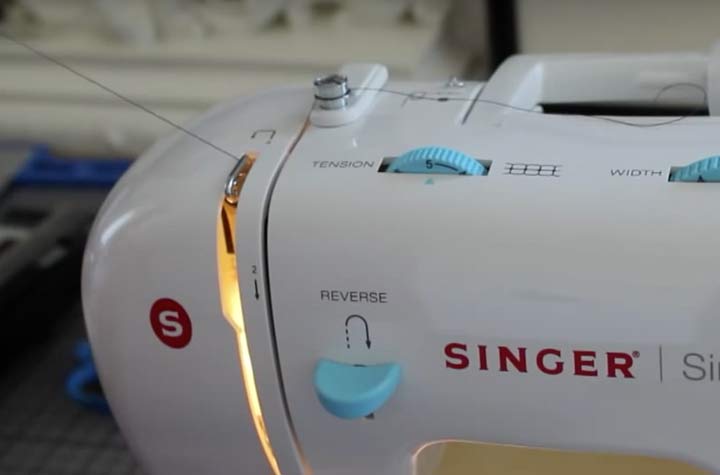
Once the bobbin is threaded, gently pull the thread around the small metal notch on the opposite side from the bobbin.
This keeps the thread from getting tangled. Guide the thread straight down the open slit in the front of the machine, around the curved bottom, then back up.
Make sure to hook the thread around the small metal piece at the top of the slit.
If you don’t see it, turn the large knob on the outer ride side of the machine. It resides inside the slit. Turning the knob will make it protrude enough to hook the thread around it.
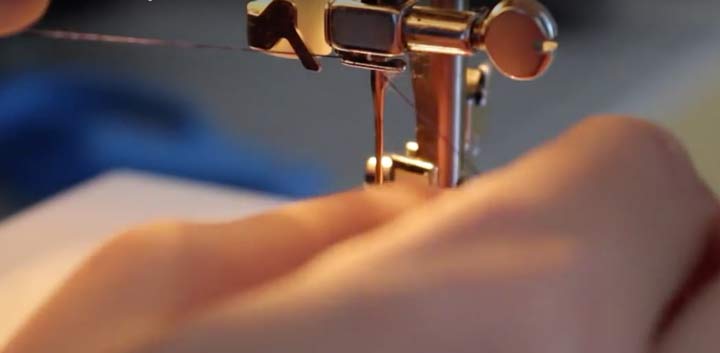
Once it’s around the hook, pull the thread down towards the needle. Directly above the needle is a flat horizontal slit. Guide the thread and hook it through the metal slit, then pull it down and thread it through the eye of the needle.
Pull the thread towards you, between the “feet” of the presser, then pull it away from you.
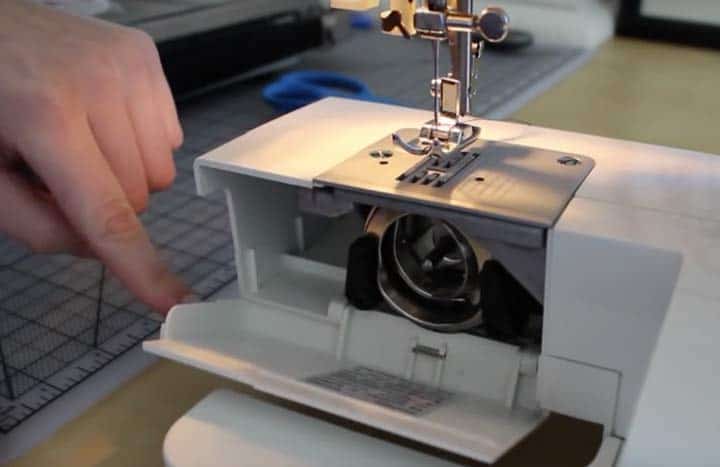
Open the door under the area where the needle is. This is where the bobbin holder is located. This is where you will insert the bobbin that you wound with thread earlier.
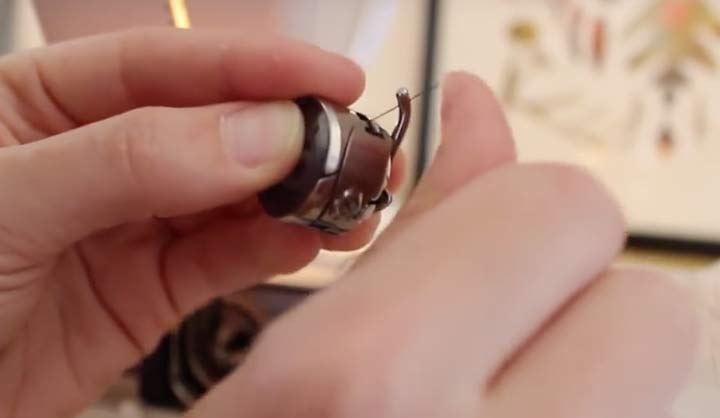
The bobbin will fit snugly inside the bobbin holder. Make sure the thread is facing outward when the bobbin is placed inside the holder.
Once the bobbin is inside, close the lid, and guide the thread to slide into the notch on the bobbin holder.
Insert the bobbin holder back into its slot.
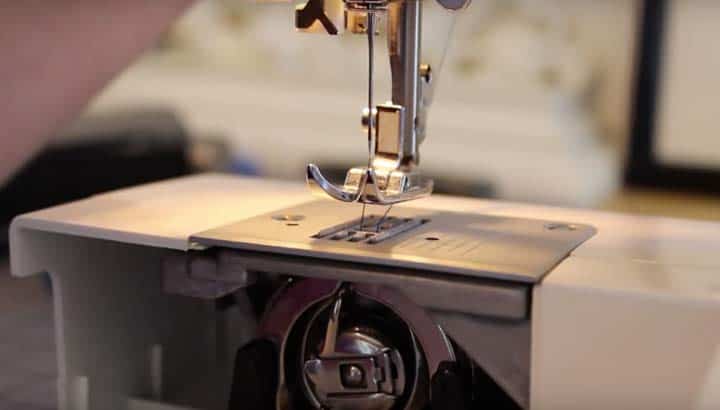
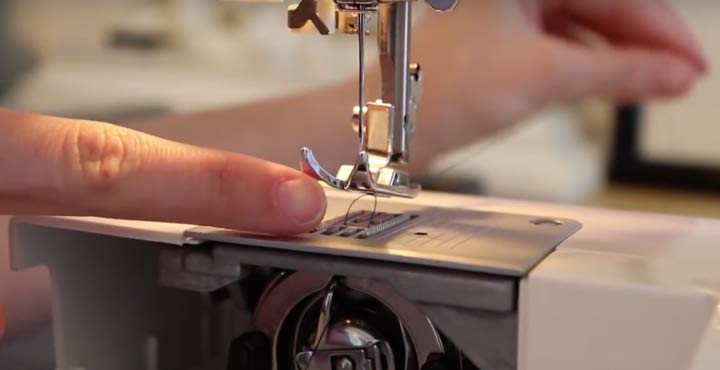
Pull the thread that went through the needle away from you. Slowly turn the large knob that controls the needle. The needle will slowly move downward. It will disappear into the bottom of the machine as it grabs the thread from the bobbin.
Now the top and bottom thread are looped together under the presser foot.
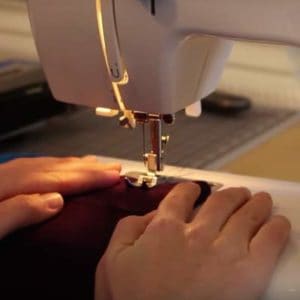
That was probably the most difficult part of prepping the machine for sewing. Once the thread is properly lined up, place the fabric under the presser foot.
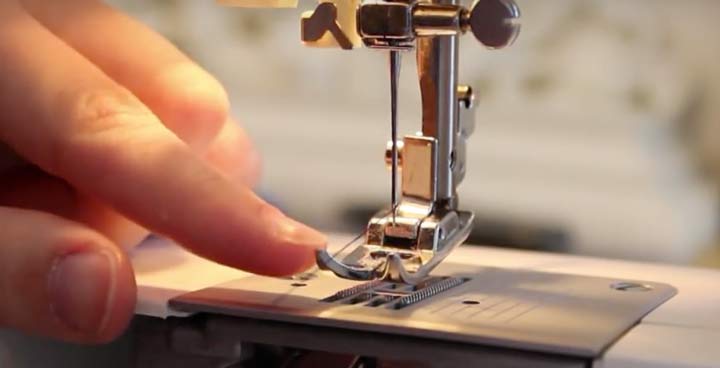
This is the flat little piece of metal that resemble two skis. The needle will be directly in between these two skis. Its function is to hold the material in place while sewing.
Line the fabric up using the seam guides. These are a set of lines that are etched into the metal next to the needle mechanism. As you sew, the fabric will feed through the presser. Keeping the edge lined up with the seam guides will help to sew the stitching in a straight consistent line.
The seam guides are labeled with measurements. For instance, if you line up the material with the “1/2” line, that means that there is a half of an inch of fabric between the needle and that line. Stitching at this marker will give you a half inch seam.
On the back of the machine (behind the part that holds the needle) is a lever. Push it up, and it raises the needle. Push it down, and it lowers the needle. It should be up since you had to thread the needle. With the fabric under the presser foot, lower the lever.
Now the fabric is locked in place. Gently step on the foot pedal. The fabric will be pulled through as the needle and bobbin work simultaneously to produce a stitch. The more pressure on the foot pedal makes the needle move faster. Go slowly at first until you learn to control the fabric in time with the speed of the stitching.
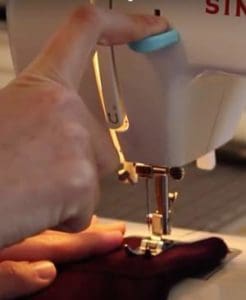
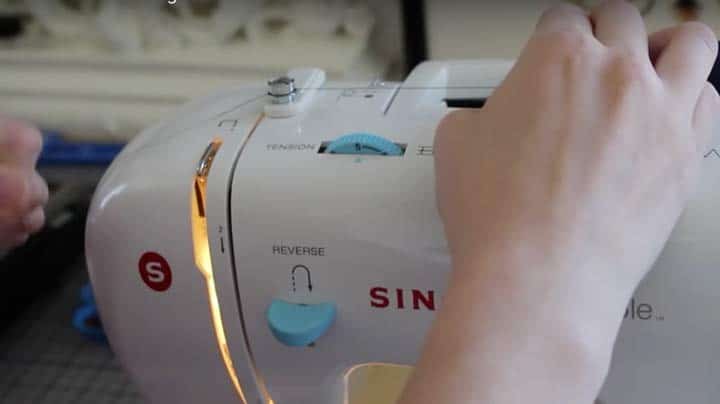
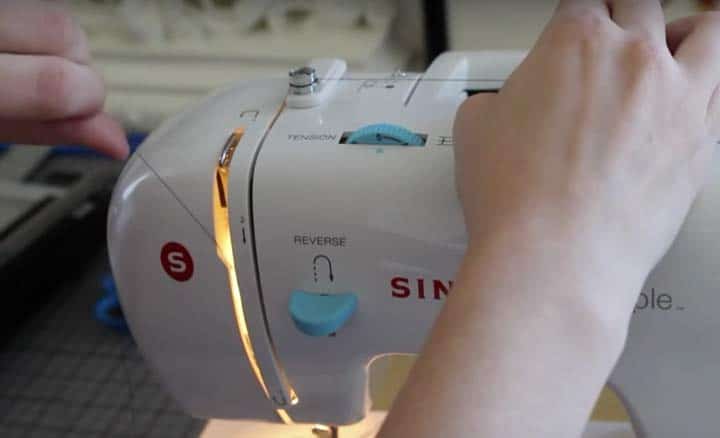
To finish a project, you need to secure the end of the thread by backstitching. Backstitching is simple. Use the reverse lever to sew over what you just stitched. A good starter sewing machine will have these levers labeled.
The reverse lever should be near the needle mechanism in the front of the machine. Release the lever to begin stitching forward again.
By overlapping the stitches this way, it secures the thread without the use of bulky knots.
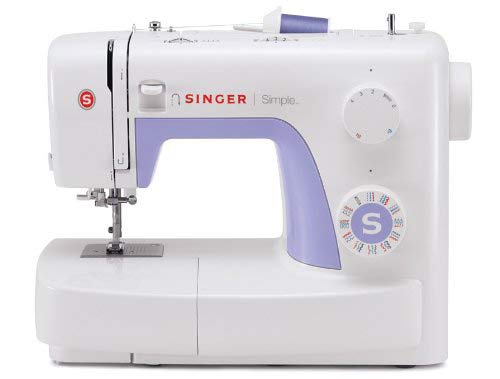 See the latest availability and price of the current model of the ‘Singer Simple Sewing Machine’ featured in the above mini tutorial here…
How much do sewing machines cost?
There are lots of factors that come into play where cost is concerned. The smaller the machine, the lower the price. Portable miniature sewing machines can be purchased for as low as $20. It’s a great price, but the capabilities are extremely limited. For example, it may only do one type of stitch. Or it is only hand operated, like a stapler. The more features a machine has, the higher the price will be. For the ultimate commercial sewing machine, it could cost near $3,000.
As a beginner, a good starter sewing machine with just the basic functions should suffice. Ranging somewhere from $100 to $300, you can get a fully functional machine with standard sewing capabilities. Straight stitches, button holes, back stitching, zigzag stitches, needles, bobbins, a foot pedal, and a few accessories should all be included. Sometimes, even a nice vinyl dust cover comes with it.
Of course, there are other additional accessories that can be purchased separately like presser feet and extension tables to add extra work space. Need portability? Rolling bags serve as luggage bags for your machine for easy transport. Sewing machine parts will wear out over time. When looking for the machine you want, figure in the cost of replacing some standard parts. Some may be covered by warranty for free replacement or repairs.
See the Craftsfinder.com review of 5 highly rated sewing machines here…
What are the different types of sewing machines?
There are four simplistic categories that sewing machines fall into:
- Electric Sewing Machines – This is the most common. They consist of the main body and a foot pedal. Plug it in, and away you go.
- Computerized Sewing Machines: A little more tech savvy, these machines have a display screen and buttons for selecting the more complicated types of stitches. They’re great for sewing projects that require those more complicated types of stitches like embroidery.
- Over Locker Sewing Machines: Primarily used as commercial sewing machines. If you know what you’re doing, you can get some very professional stitching results. These are only recommended for experienced tailors and professionals.
- Manual Sewing Machines: This is the least expensive of them all because they have no electrical components. You will be required to turn a wheel, use batteries, or push the needle down by hand for each stitch. Often, miniature sewing machines fall in this category. They’re less expensive because you’re doing most of the work.
What can you make with a sewing machine?
Everyone knows that sewing machines attach two pieces of material together. But there’s so much more it can do – even a beginner’s miniature sewing machine can do more than that.
Maybe you have a blouse that is too low cut. Use your machine to add a button hole. Patch up a hole in some jeans. Add a zipper. Let down the hem of a dress, and sew a new one. Make some new drapes for the bedroom. Design a new outfit that conforms to your exact measurements.
 Sew appliques onto your child’s basketball uniform. Add a newly earned patch to your daughter’s Girl Scout sash in just a couple of minutes. Make a purse or a tote bag for the beach. Make your own set of throw pillows that perfectly match the new drapes. Or make that special stuffed teddy bear. Anything that can be stitched by hand can be sewn easier and faster with almost any type of sewing machine.
While standard electric machines are the most common, a miniature sewing machine is nice for smaller projects such as crafts (sewing some lace on a Christmas angel), scrapbooking, making doll clothes, or emergency repairs while traveling. There’s a handheld version – perfect for portability – and a tabletop model that’s more like a compact version of a regular sewing machine.
If the drapes in the living room are too cumbersome to take down to stitch, take the handheld miniature sewing machine to the drapes. Stitch the drapes while they’re still hanging. Did your son get a hole in his pants just before going on stage for a school play? Grab your miniature sewing machine out of your purse and stitch it up.
They are not meant to do what a standard electric machine can, but they are fantastic life savers in those unexpected situations when needle and thread are needed.
What are the most popular sewing machine brands?
The most popular sewing machine manufacturers are probably Brother and Singer. They have a wide selection of machines ranging from beginner to professional tailor levels. If something breaks, no worries. Sewing machine parts for these brands are easily available in stores or online. Most repair shops service these brands since they’ve been around for years.
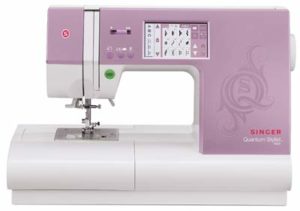
The SINGER 9985 Quantum Stylist TOUCH 960-Stitch is a great investment because it gives the beginner the option to grow into the more complex features of a sewing machine. The automatic bobbin winder, drop-in bobbin, and needle threader take the guesswork out of getting started. Get comfy with the basics, then move on to using the twin needle capability and adjustable feed dogs (they pull the fabric through while you sew). The sewing light, foot pedal, extension table, and a bunch of accessories including a dust cover and tools for simple repairs are all included. Plus it comes with a transportation case. Bring with you on vacation for some relaxing sewing time.
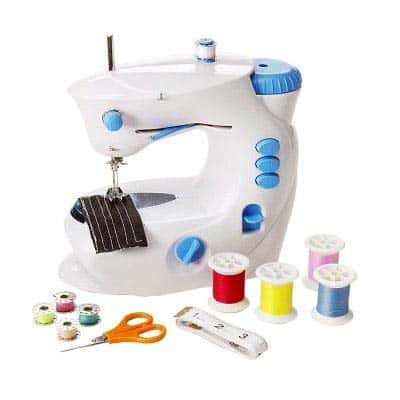
Euro-Pros Shark Dressmaker sewing machine is a friendly way to acclimate to the world of sewing. It’s aimed at beginners with its simplistic features and easy-to-use style.
It comes pre-threaded and ready to use out of the box.
It runs on electricity or batteries, has two sewing speeds, a built-in work light, reverse lever, adjustable stitch length, and a thread tension knob.
It’s a compact tabletop machine with a 100-piece accessory kit, storage bag, and a one year warranty. Not bad for a beginner machine.
Miniature Sewing Machines
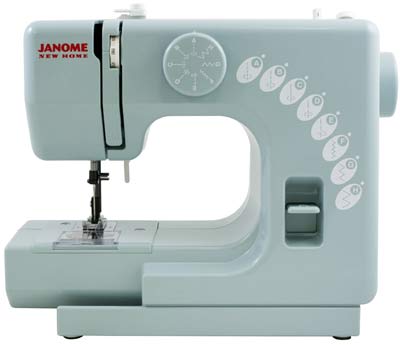
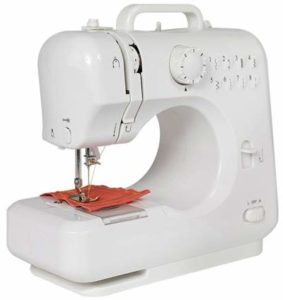
If a miniature sewing machine is what you want, the Janome Sew Mini is affordable, has two built-in stitches, drop-in bobbin, reverse locking feature, and very lightweight. The Michley LSS – 505 is another great brand for minis. It has eight built-in stitches, an LED work light, electrical plug plus its battery operated.
Whichever model you choose, think about how much money you’re willing to invest for the projects you plan on doing. Sewing is a great hobby, money saver, helps with hand-eye coordination skills, and a basic life skill that can be used for years. When you look at one of your completed projects, you will feel a wonderful sense of accomplishment knowing that you created something beautiful with your own hands.
.
Several of the above images are from Brea Heths superb video ‘How To Use A Sewing Machine’. If you would like to see the full video it is available to view below.
How to use a Singer Sewing Machine – the full video
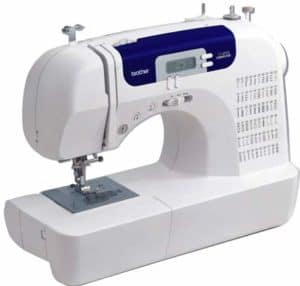 5 of the best rated sewing machines for beginners. We review the top brands sewing machines which are designed with the beginner in mind and have been rated highly by previous customers. Read the review here…

